
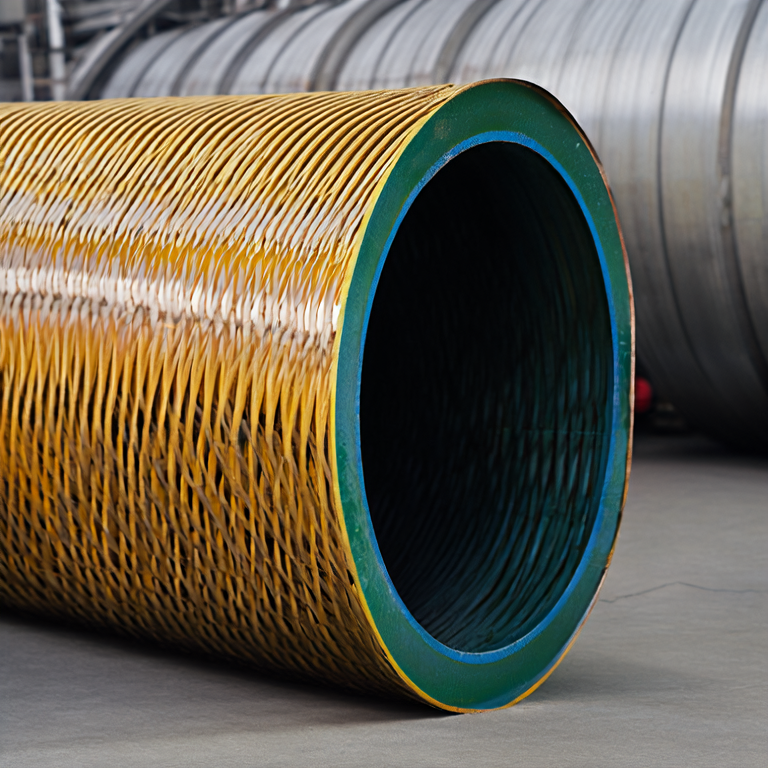
Filament wound fiberglass pipes are designed with a helix of high-strength fibers, which ultimately improves their load-bearing capacity. This unique construction offers higher tensile and compressive strength compared to traditional materials.
Fiberglass pipes are inherently resistant to a wide range of chemicals and environmental conditions, making them ideal for applications in industries such as oil and gas, water treatment, and chemical processing.
One of the most significant advantages of filament wound fiberglass pipes is their lightweight nature, which simplifies transportation and installation while reducing overall project costs.
Despite a higher initial investment, the durability and low maintenance requirements of fiberglass pipes can lead to cost savings over time in repairs and replacements.
Filament winding allows for flexibility in pipe design, thus enabling the creation of pipes that meet specific project requirements, including different thicknesses and diameters.
These pipes are also known for their impact resistance. They can withstand pressure spikes and physical stresses without cracking or breaking, a critical feature for many applications.
Filament wound fiberglass pipes
Piping adhesive or sealant
Pipe fittings
Measuring tape
Circular saw or pipe cutter
Safety goggles
Gloves
Follow these steps to correctly install filament wound fiberglass pipes:
First Step: Measure the Installation Area
Use the measuring tape to determine the lengths of pipe needed.
Account for any fittings and joints required.
Second Step: Cut the Pipes
Using a circular saw or pipe cutter, carefully cut the fiberglass pipes to the measured lengths.
Ensure that the cuts are clean to prevent leaks.
Third Step: Prepare the Pipe Ends
Lightly sand the ends of the pipes to create a better surface for the adhesive to bond.
Make sure to wear safety goggles and gloves during this process.
Fourth Step: Apply Adhesive
Apply a suitable adhesive or sealant to the ends of the pipes and inside the fittings.
Follow the manufacturer's instructions for the correct application technique.
Fifth Step: Join the Pipes
Insert the cut pipe ends into the fittings, ensuring a snug fit.
Hold the pipes in position for the recommended time according to the adhesive used.
Sixth Step: Allow to Cure
Allow the assembly to cure as per the adhesive's instructions before testing the pipes under pressure.
Not measuring pipe lengths correctly, leading to inadequate or excess lengths.
Using incorrect adhesive types that may not bond well with fiberglass.
Ignoring proper safety protocols during installation and cutting processes.
Rushing the curing process, which could result in weak joints.
By following these steps, you can confidently install filament wound fiberglass pipes that will significantly improve strength and corrosion resistance in your applications. For high-quality materials, consider our brand, Pipezy, to ensure the best performance in your projects.
Copyright:@2020-2021

Comments Please sign in or sign up to post.
0
0 of 500 characters used